Create Application
What is Project Scaffolding
Scaffolding, as used in computing, refers to one of two techniques:
- for code generation technique related to database access in some model–view–controller frameworks
- for project generation technique supported by various tools.
We will focus only on the second technique (project scaffolding) which generates a starting point for a project based on a number of required inputs.
Spring team has provided multiple ways to quickly bootstrap a Spring Boot application. You can either use the Spring Initializr or Spring Boot CLI to scaffold a Spring Boot project.
We will use Spring Initializr for this project.
Do
1. Create New Spring Boot Project
Create your spring boot project with Spring Initializr
Use the following values to create the your project.
- Project: Gradle Project
- Language: Java
- Spring Boot: 2.6.3
- Group: com.geteche
- Artifact: students
- Name: students
- Description: Spring boot application to handle students related logic
- Package name: com.geteche.students
- Packaging: Jar
- Java: 11
- Dependencies: click ADD DEPENDENCIES... and search for
weband select Spring Webactuatorand select Spring Boot Actuator
note
These values are for this tutorial only. Outside this tutorial, be sure to use other values to create spring boot application.
when you are done click GENERATE and download the students.zip file to your local machine.
2. Configure and starting the project
After downloading the project we need to do some configuration before we start development.
- Copy the downloaded
students.zipfile from downloads to your preferred development directory Eg.Documents/projects/ - Extract/Unzip
students.zip - Open the
studentsproject in IntelliJ IDEAnote
To open
gradleproject inIntelliJ IDEA, gotoFile -> Open, browse to the project directory and selectbuild.gradlefile then click onOpen as Project. This will open the project as gradle project and will download all the dependencies defined inbuild.gradlefile. - Now that the project is opened in IDEA, Open
StudentsApplication.javathat is located insrc/main/java/com.geteche.students - Right click inside the code editor and select
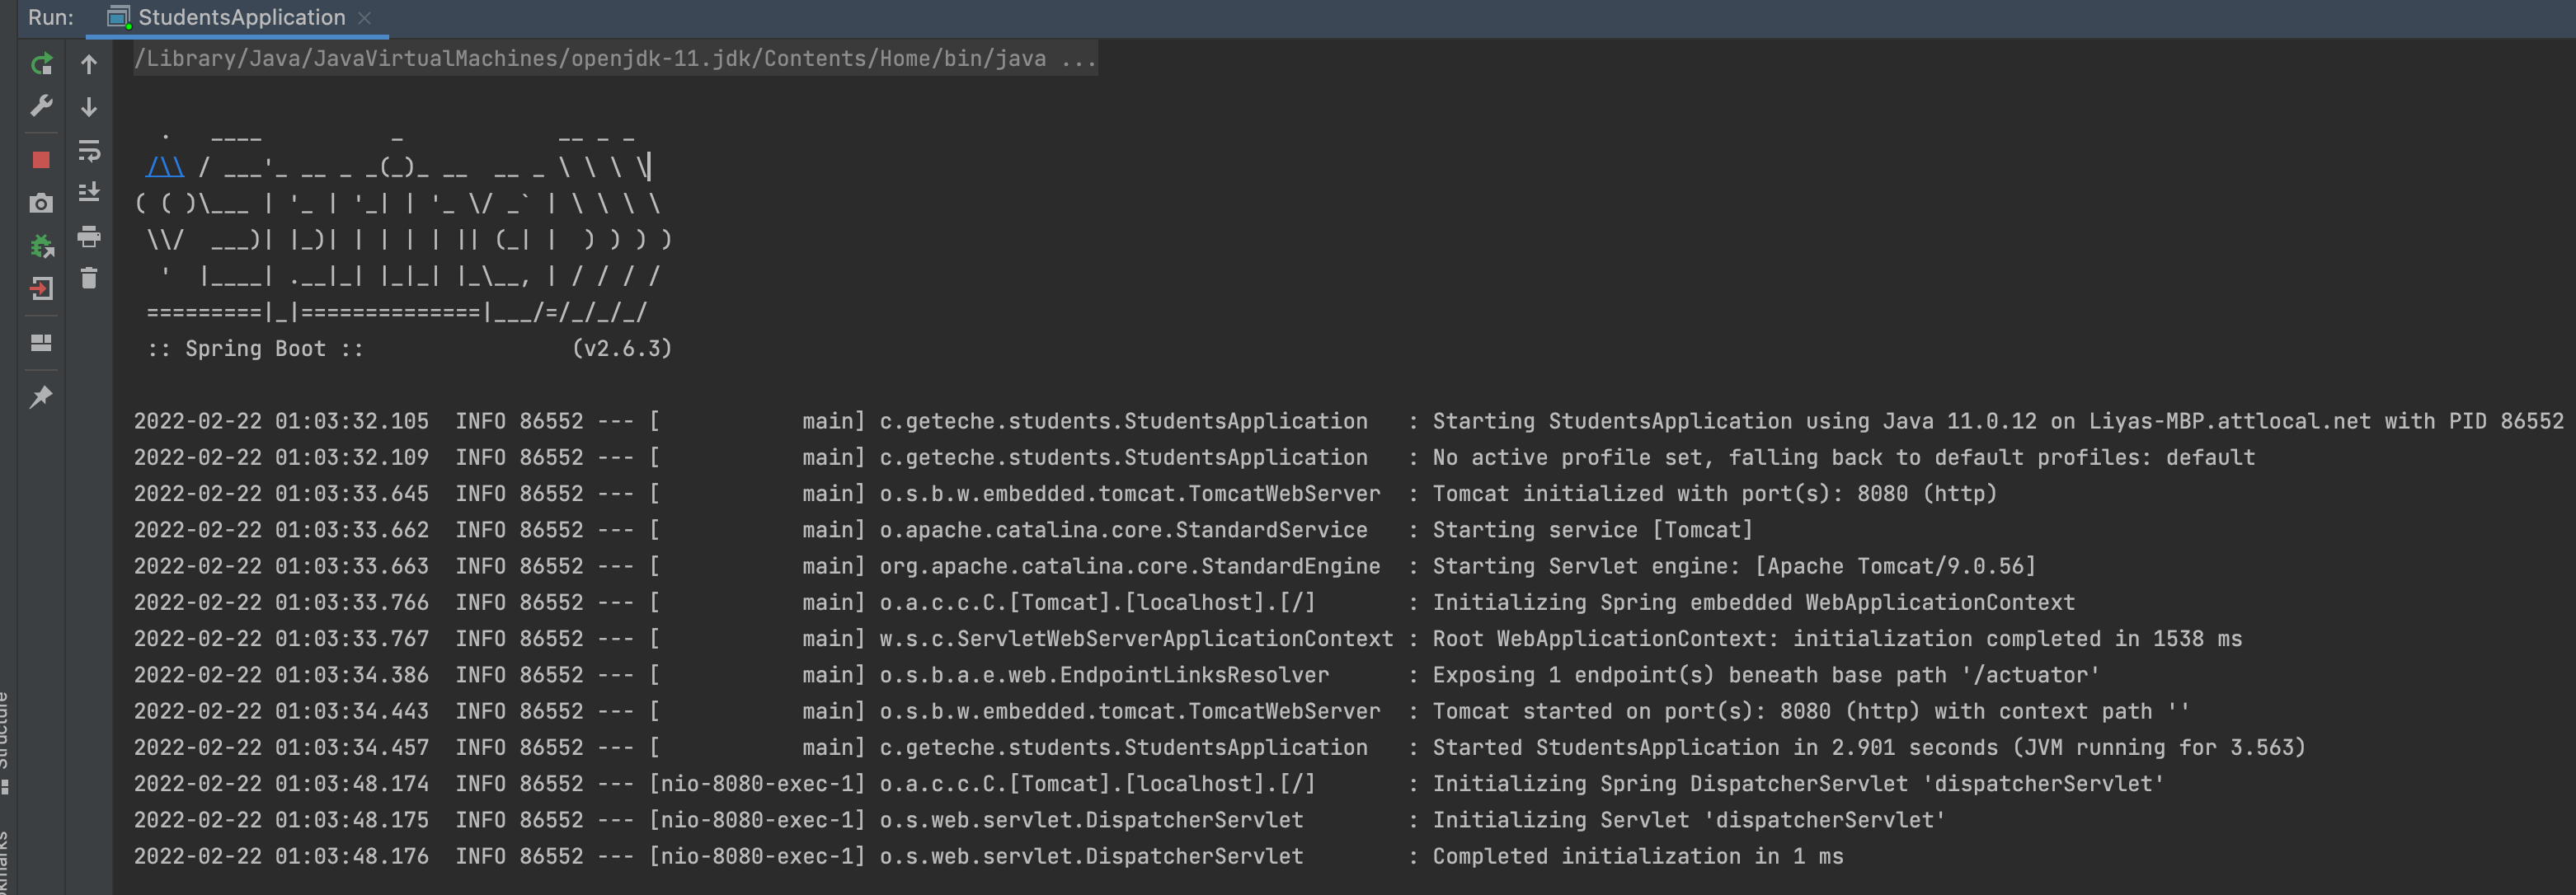
Run StudentsApplication.main(). Once the application up and running you will see output similar to below example
- Open Insomnia, you can create and setup a
project -> collection -> folder, Here create a new request by going to your folder and clicking the+button, then make sure to use the following info and hitsendbutton- name: API Health Status
- method: GET
- URL: http://localhost:8080/actuator/health
- you should get a response in
JSONformat like shown below
{
    "status": "UP"
}